Saturday, June 29, 2013

Scrap Happy

I had some rather large scraps left over from my graduation dress and the large print reminded me that  I wanted to make Hot Pattern 1146. The  Deco Vibe Shadow Woven T-Shirt & Tunic. A pattern for a woven fabric T shirt with contrast panels on the neckline, sleeves and side bodice.

Hot Pattern 1146 Deco Vibe Shadow Woven T Shirt
  This use of paneling in garments is a favorite look and I have many pictures in my inspiration file of it used in dresses, tops and even swim suits.


 I really like the bands on the bodice sides, on the neckline, across the shoulders and down the sleeve. Using  a darker color on the bands create a slimming  look in the torso, and horizontal lines across the shoulders. All good style lines for my pear shaped body.  I wanted to test the pattern first.  I have never made a Hot Pattern.   I have purchased several, some right after the company launched many years ago. The people that rave about HP are not shaped like me and there seem to be more reviews of knit tops than woven garments, so I have never been motivated to sew one before this. I could not find any reviews or even blog posts about this top.

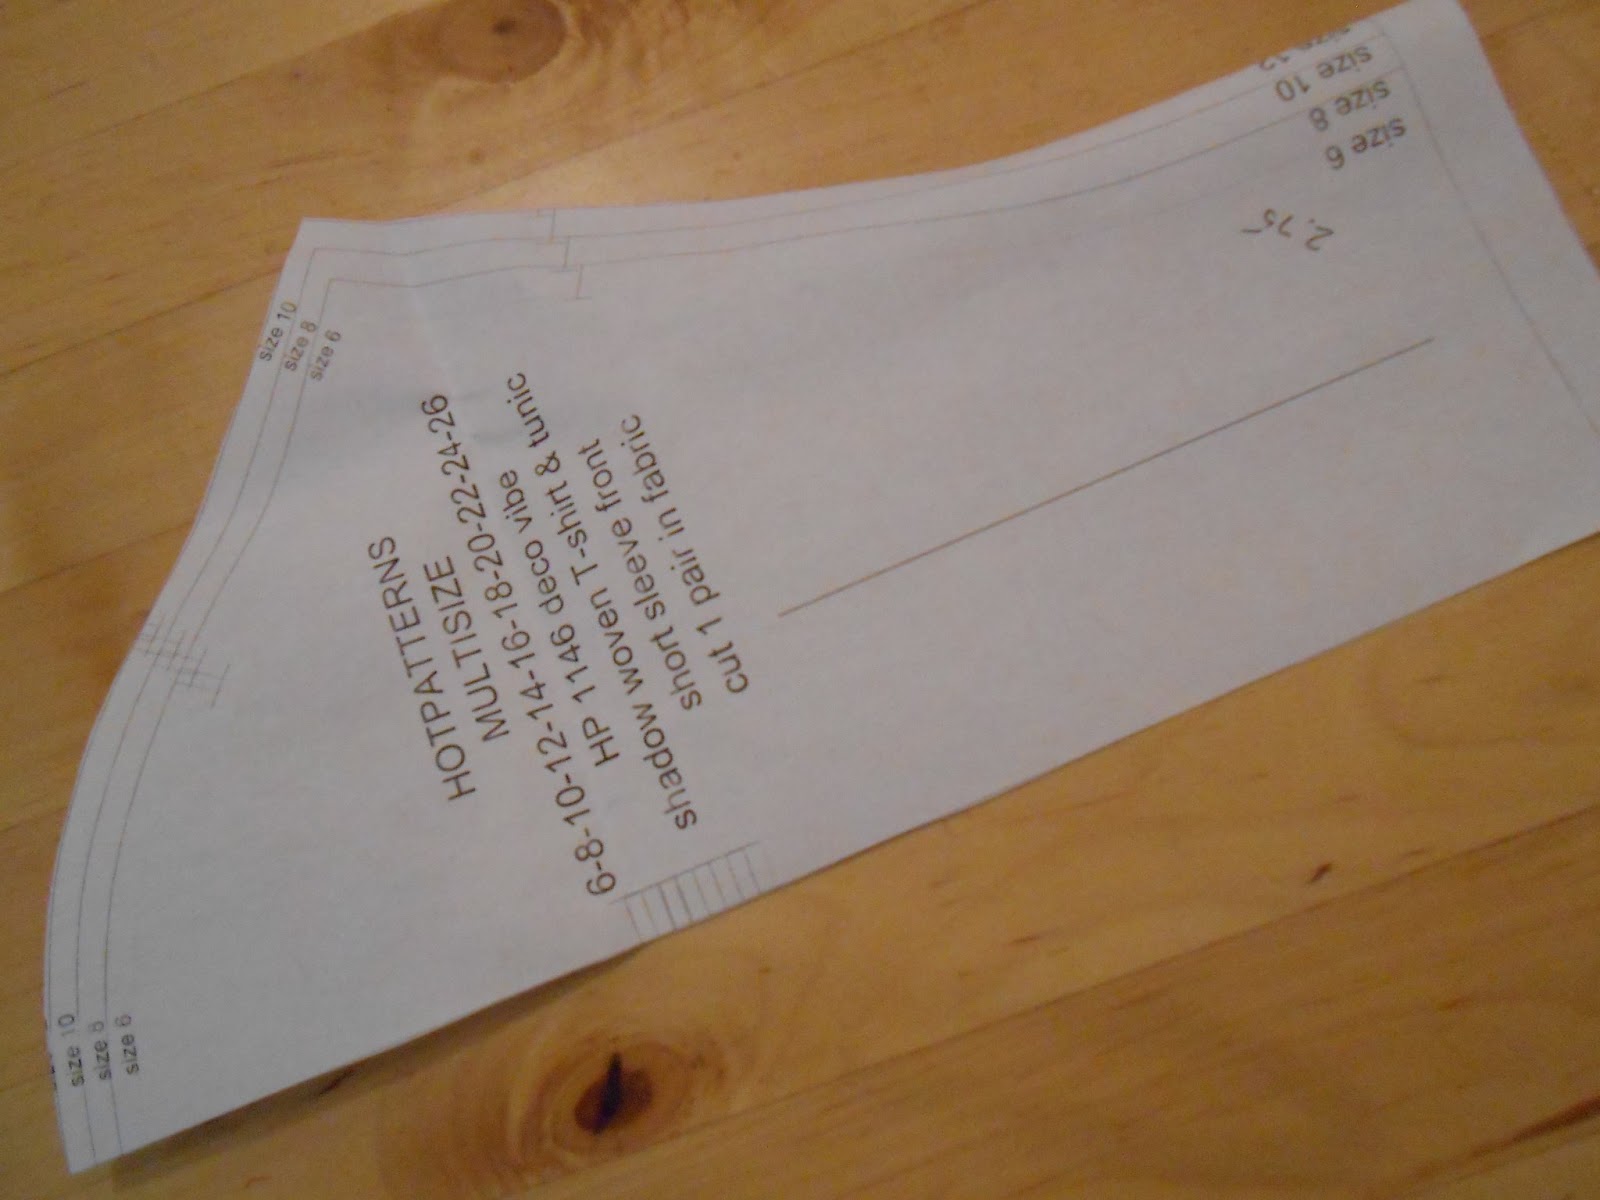
 The body measurements on listed on the back of the pattern.   My measurements spanned sizes 12-16; bust a size 12, waist size 16, and hip size 14. The finished garments measurement was not provided for this pattern.  The difference between finished garment measurements and my body measurements is the ease that would be in the finished top. The ease, more than anything, determines the size I make in any pattern.  So I had to cut out all the pattern pieces, pin them together and measure the front and back bodice at bust, waist and hip, remembering to subtract out the seam allowances. I also assembled the sleeve (5 pattern pieces) and measured it too.  The finished garment measurements for a size 12 had 2 – 3” ease over my body measurement so that is the size I made.  Pinning together the pattern pieces is also a good way to check the pattern drafting accuracy and matching marks, and make sure you have cut out the correct size.  Hot Patterns have sizes 6 -26 printed on the same sheet with no differentiation in size line style (dots, dashes, colors).   The size labeling is sparse, often only printed next to the line on one side of the pattern.  It was under the size line on one piece and over the line on another pattern piece. Finding my size and cutting it out was a tedious, time-consuming activity. The differences is size are infinitesimal in places make a spirograph design of lines.  The size 6 line was barely visible on my pattern and since it was the only reference on some pattern pieces  (Size 12 was the fourth line  as in 6,8,10,12), it was very difficult to determine what line to use for the size I chose. 
Where is my size line?

Inconsistent  Size labeling
 There is a video on this top on YouTube Video. While it focuses on applying the decorative zipper in the center back, there were shots of the shirt in progress which helped me understand how to piece it together.   The direction  are sparse. The pictures were easy to understand.  The text on my copy of the pattern suffered from printing quality problems and was unreadable in many places . Sewing the top went very quickly after all the measuring and prepping.

The fabrics  for the first version were a print in a light weight cotton lycra woven and black fabric which was a rayon, poly, lycra ponte  knit. I was able to pull this top over my head so I did not put a zipper in the back.
partially assembled

  This pattern seemed to be "petited" from shoulder to bust. I had to drop the bust darts 2 inches.    The arm hole height was a bit short and the sleeve cap  height was only 3 inches.  Small sleeve heights are common in T- shirt sleeve to provide mobility and reduce the need for armhole ease in the sleeve.  I suspect this last reason is why the sleeves in this top were designed this way.  No ease  facilitates matching  the bands in the sleeve (4 seam lines) with the bands in the shoulder and side bodice area. But this armhole did not fit me well and had fabric bunched under the arm.  The back width was huge, over an inch and 5/8 wider than the body measurement.  Even for a T shirt fit, that is too much back width.  I took it out across the shoulders, moving in the back armholes but I should have taken it out all the entire length of the back. The top was huge in the waist area, even after I put in back waist darts.


Version 1 front

Version 1 side


  The sculpture I am posing with is an iron work door on the campus of Radford University where son #2, my baby, is going this fall. I thought the door  was symbolic of  my son  leaving home, opening a door on a new phase of his life, but able to look back and see us on the other side of the door. Can you tell I am not looking forward to an empty nest?  We were on campus for orientation. Temps in the 90’s F, severe thunderstorms interspersed with bright sunny skies and 98% humidity. My hair is an excellent hydrometer and in those conditions, will defeat any extra hold hair product on the market.  The schedule had us parents walking to different building at opposite ends of the campus for presentations, lectures, dining hall meals.  I think they wanted us exhausted and in “info overload’ for the final talk, which was about tuition and a few additional fees.

Version 2 of the top was made using my sloper with the band patterns superimposed over it.  Using the larger armholes on my sloper meant drafting a sleeve that had a bit of ease in it.  I was able to do this, add the panels to the sleeves, and still match the panels on the garment.
original sleeve versus new sleeve

 The second version is made from lightweight linen in black and light turquoise.  I really like the fit in the shoulder and sleeve much better.  Somehow the back is longer than the back on the first version. I need to shorten it,  as the first time I sit down , the back will be a wrinkled mess.


I love the style and fit of the 2nd version of the shirt. I strongly recommend making a muslin or test garment of this pattern.

Thursday, June 13, 2013

School's Out!

I did continue to wear me made garments during May as incentive to clean out my closet.  Finding the time to photograph myself was difficult and I decided not to bore you with pictures of me in garments, many of which  I gave away. Gone are several matched suits. Pants and jackets of  the same color and fabric, The pants didn’t fit as well as I would like and the jackets didn’t look good worn as a separate.   Gone are pants I had worn to the point of shabbiness. But I made a note of the pattern and what I liked or disliked about it. Gone are 2 of my first  lined jackets, made in the early 1990's. Why did I keep them so long? After much thought I concluded it was  because they were made when I got my first supervisory job and I wanted to look ..supervisory, which at that time, for women as well as men, meant a jacket.  They represented the accomplishment of a significant career milestone.  I've achieved a few more milestones since then, so it was easy to let them go. 


The clean out mentality spilled over into other areas. 

1. Fabric Stash - The juvenile prints left over from my sons' childhood will not be in fashion when my grandchildren come along. Gone!

2. Linen closet - Where did all these beach towel come from? Some with names of places I have never been to. Gone!  Power Ranger Sheets  Gone!

3. Blog Reader - moved to Bloglovin, Not really lovin it,  but it showed me how many blogs were on my list. Over 400 ! Deleted were blogs devoted to doing quirky things for a year, ones with too many ads and not much content, anything related to sewing vintage patterns, style blogs with one style, and some other attributes I won't go into.  Gone !

Son #2 decided to have his Boy Scout Eagle Court of Honor in June,  the same month as his High School graduation. Lots of family came for the weekend to celebrate with us.  It was a great time, but I had to relocate my sewing stuff out of  the sewing, I mean, dining room. Yes, I am the one that bought out all the plastic containers at the the Big Lots store.  Yes, they were stashed in every closet of the house and under the deck. As soon as the  company left, I had to get started on my dress for the graduation ceremony. Which container did I put that fabric in?   I found it and  finished the dress in time.

The pattern - Vogue 8902 - Misses Dress has close-fitting bias bodice and sides, seam detail, sleeve and skirt variations and back zipper, lined bodice and lots of topstitching. Sizes 6-22 with custom fit for A,B,C,D, cups.

Vogue 8902

I didn't notice that all dress pieces were bias cut when I bought the pattern. The recommended fabric is double knit, crepe or tropical wool.  I made the dress out of a printed cotton stretch sateen with the contrast inserts of ponte knit, and lined it in tricot knit. I felt the cotton stretch fabric had about the same amount of stretch as a crepe or tropical wool on the bias. This dress is rated easy, but I would rate it medium and time consuming. It has many angular pieces that are easy to mix up (mark notches and right and wrong sides) The seams of the angular pieces are not straight, but have some shaping in them, as does the center back seam below the waist. There is lots of top stitching. Only the bodice is to be lined, but I lined the whole dress. There is no separate lining pattern. You have to use the same patterns  as the garment, with all those pie wedges pieces, etc. My fabric was a abstract floral in purple, black and white. I used black fabric for the waist insets and sleeves to break up the print.


Vogue 8902 Front

Vogue 8902 Back
Zipper Lining detail


Proud Mom June 13, 2013


Sunday, May 5, 2013

Me Made May Madness

I committed to participating in
 

 organized by Zoe of the blog  Zo- So....!  

My pledge and my first week of outfits.

'I, Audrey of Sewtawdry, sign up as a participant of Me-Made-May '13  I will endeavor to wear at least one of my me sewn garments each day of the merry month of May 2013'

This may be more of Me Made May Madness because I really do not have time to take daily pictures of my outfits.  My reason for signing up was to expedite a closet purge. Something has changed  in the last year.  Any or all of these; my body shape and coloring, personal image, work dress code, fashion, etc.  But the clothes I enjoyed wearing or felt comfortable in are no longer that. I waste time in the morning trying to put together an outfit.  My closet  is stuffed with clothes, many I have made. I have a especially hard time giving away the garments I have sewn. So much time and effort invested in them.  But some have  passed their "wear by" date.  At the very least I can consider a sewn garment as a learning experience, a lesson learned. I will think of  my sewing projects as notches in a ratchet.  A ratchet is a mechanical device that allows continuous linear or rotary motion in only one direction while preventing motion in the opposite direction.     Every day I will wear a me made garment, and give it a chance to confirm its place in the limited space of my closet.  If I can wear it more than once, in different outfits, it gets extra points. If it is a 'one trick pony', it better be pretty special.


Wednesday was cold. I wore a recently made leather and wool skirt. I am making an effort to pair this skirts with different tops. I must have lost some weight since I made it. The waist is loose and the  skirt kept trying to  rotate around my body during the day. I will add some elastic inside  the waistband to accommodate waist changes.  I originally paired it with a black and white plaid shirt with black chiffon flounce (Burda).  The plaid fabric is too heavy for a blouse, stiff and uncomfortable.  It never even got the day trial. I took it off and put in Give Away box.


 Thursday I pulled out a silk blouse I made years ago from Silhouette pattern Pam's Blouse  .I  love the heavy weight silk and the print colors of tan, black and  pumpkin .   I will keep it.
 
Friday was a company holiday.  A sewing friend and I drove to Hampton Roads, VA ( 2 hours) for an ASG seminar. More on that later. I wore burgundy wool pants with a avocado green silk blouse and a fun tie dye cardigan that had similar colors.  I think I will retire the pants. I love the color, which goes with many things in  my wardrobe,  but the style is not the best for me; pleats at the waist and tapered legs. I have some similar colored fabric in my stash that I will make into traditional straight leg pants.


Saturday was tough. I don't sew many casual clothes so it was difficult to find something I had sewn that was not too dressy for a day when I planned  to putter around the house .  A Vogue knit top was the answer. Normally, I would have only thought of wearing it with the pants I pair it with for work.    But it looked great with  jeans.

Back to Friday. I attended an ASG sponsored event with Sarah Veblen  Her topics were Designing Comfortable Layers that Work  and Divine Details.  Sarah is a custom fashion designer with a home-based business that focuses on creating clothing for her clientele, and that concentrates on teaching and writing to promote the craft of garment-making. She has written a comprehensive and beautifully photographed and illustrated book on fitting.

 
The Complete Photo Guide to Perfect Fitting gives detailed information on custom fitting garment patterns. And it provides easy-to understand explanations of pattern making principles and skills to make the resulting pattern changes logical and straightforward. Sarah has been a consultant to several small label women's clothing companies, assisting with the conceptualization of designs, pattern development, and technical aspects of construction. She has also been a pattern making consultant for  Fit For Art Patterns, with whom she also collaborated to develop the Eureka! Pants that Fit pattern,

 which is based on the fitting research she conducted while writing her book. She is also a  regular teacher for PatternReview.com.

The morning presentation was Designing Comfortable Layers that Work.   Our first tasks was to complete a lifestyle inventory and answer questions about our current wardrobe.  For me, the question which made me think was "What would you like to  feel like when you get dressed on a daily basis ?" The way my clothes make me feel is a huge factor in whether I wear them. My answers - comfortable, attractive, distinctive.  She then discussed  and showed examples of the difference between separates versus an ensemble, which is a group of complementary garments that contribute to a single look. In addition to the common pieces we think of a layer and that often complete an ensemble; a sweater, jacket, coat, or shawl, a linen blouse over a pretty camisole can make you look just as put together as a blazer over a collared shirt.  A printed shawl over a tunic can turn a relaxed look into a statement, A vest can take the place of, and be more interesting than, a jacket.  She also discussed wearing ease and how much to add for layered garment. Her main point was RTW patterns generally have too much ease. She suggested, using the finished garment measurement at bust and hip, printed on many patterns or measured by you on the pattern,  to determine what size to make.  And don't go overboard when adding ease to parts of a layered ensemble.  Also discussed were 
  • Show pieces or statement garments versus "foil" garments,
  • Using repetition or echo of details.
  • Textural changes when combining colors and fabrics.
  •  The scale of prints, from bold declaration, mild statement, or reads as texture and how to use them effectively.


Sarah Veblen
The afternoon topic was Design Details.  I love these kinds of presentations. When a speaker shows the details she has added to her sewn garments. Details that take the garment from standard or pattern picture perfect to something eye-catching and unique.  Sarah often uses big 4 patterns, but they never look like the pattern illustration.  She described the creative process she uses, when a garment seems blah or just not complete, to find that detail which changes it into something she enjoys wearing, Many of her garments are shown in the gallery on her website. Unfortunately there is no information on the pattern used and the decorative technique/changes she made to the pattern. They were so inspiring in person.  If you ever have the opportunity to attend one of her classes, I recommend it.  I will be at the Quilting and Sewing Expo in Baltimore next week and am already signed up for her class on underlining.

On the way home, we made  a side trip to a nearby independent fabric store with a nice selection of fabric.  Sarah came in shortly after we got there, to do a little shopping of her own.


 It is dangerous for me to go to fabric stores right after seeing someone else's inspiring garments. I tend to buy fabric and trims similar to the ones  they used for their pieces. But after I get home I think, "These really aren't me."  I am proud to say I was very good and didn't buy anything.
 
I wanted  to reply to a question that  Far  asked in a comment on my last post.
 
 She asked "If you don't mind, can you explain a lil bit further what you did when you said: "So I drafted facing patterns and added hem allowances to the garment pieces." 
 
 It is hard to explain with words and I don't have pictures of the process so I looked for a good tutorial.   This one at  Grainline Studio Adding-lining-to-an-unlined-blazer is very well done. It is very similar to the process I used except she used facings for the hem edge of her jacket too.  I just added 1.75 inches to the bottom  edge of the jacket pattern to turn up as the hem.  Hope that helps.


Monday, April 29, 2013

Spring Colors

I had a very pleasant vacation in FLA, This is the "Where’s Waldo" view from our 19th floor condo.


The lovely view from the upper  floors was offset by woefully inadequate elevators. There were 20 minute waits during check in and peak times when everybody was going to or coming back from the beach. Is that normal in high rise resort hotels? It was the first time we have stayed in one. I thought I would return from FLA with lots of motivation to sew spring clothes, having just enjoyed warm weather, bright colors, and being well rested. It didn’t work. I dithered away valuable sewing time looking through  my pattern and fabric stashes, but nothing inspired me. I think my problem came from having too many fabrics and patterns choices.

Mid-month I read about the Pattern Review.com "2013 Spring Pantone Contest". The rules: Sew a two-piece outfit for a woman or a man. The two pieces must be able to be worn together. And the 2013 Spring Pantone colors must be the prominent colors in the outfit. 


The contest gave me a  specific goal  combined with some room for creativity. The teal, green and orange colors are my summer “go to” colors and I had some in my stash. I was inspired.  I have an actual Pantone color card set. When  the contest picture above is printed on the home printer, some of the colors do not quite match the same numbered color on the Pantone cards. Just for fun I took the cards to my local Jo Ann and Hancock Fabrics stores. Not surprising, they don’t appear to subscribe to the Pantone service and are out of the color loop. There was not much selection in the colors above.  The colors I chose for my outfit were Grayed Jade and Nectarine


 Because I was starting a bit late in the contest sewing time, pattern choice was driven by ease of construction. New Look 6194, a cute cropped jacket over a fitted top caught my eye.


The top is a simple shape, shaped hem, and front and back darts,. Bias bands are used to finish the neck and armhole openings.  I liked them on the armholes, but not on the neckline. I think I will use a bias binding on the neckline next time for a more controlled finish. The fabric is a tie dye print poly. There is supposed to be a zipper in the side seam, but with the light weight fabric and my shape, I am able to pull the top on over my head without a zipper.


The jacket is supposed to be lined to edge using  the garment pattern pieces to cut the  lining.  My first thought was this would be  easier/faster to sew than facings and a turned up hem  combined with a lining.  But I  remembered my personal experiences with lined to edge jackets.  If the cutting and sewing is not super accurate, there is the potential for the lining to be smaller or larger than the outer fabric.  So I drafted  facing patterns and added hem allowances to the garment  pieces.   A bit more work – but a better chance of a good looking jacket. Also there was no ease in the lining, so I added a center back pleat.
Lining
The back neck edge did not lay flat on my upper back. I have some curvature there.  Adding a couple tucks took care of that.
Back Neckline Tucks


Wednesday, March 27, 2013

Stretched

It has been a month since I posted and though I have done a lot of sewing related activities, I don't  have  much to show you.  I prepared and gave a presentation to my local ASG group on Hidden Elastic Waistbands. That required lots of preparation and samples.  I made muslins of these two jackets. One from  My Image

My Image Jacket 1254 

and the other  Lutterloh.  Both required only minor alterations, but after making the muslins in non-wearable fabrics, I lost interest in making the fashion garment.    The Lutterloh jacket  required enlarging an itsy bitsy drawing to full size.  I got sidetracked into trying to enlarge it electronically using a freeware graphics software called Inkscape.  The software is great and I learned a lot, including that the enlargement process wasn’t as easy as I hoped it would be.    I did find some online resources for using this type of software to draft patterns, and am playing around with that. Perhaps these activities will be the basis for future blog posts.

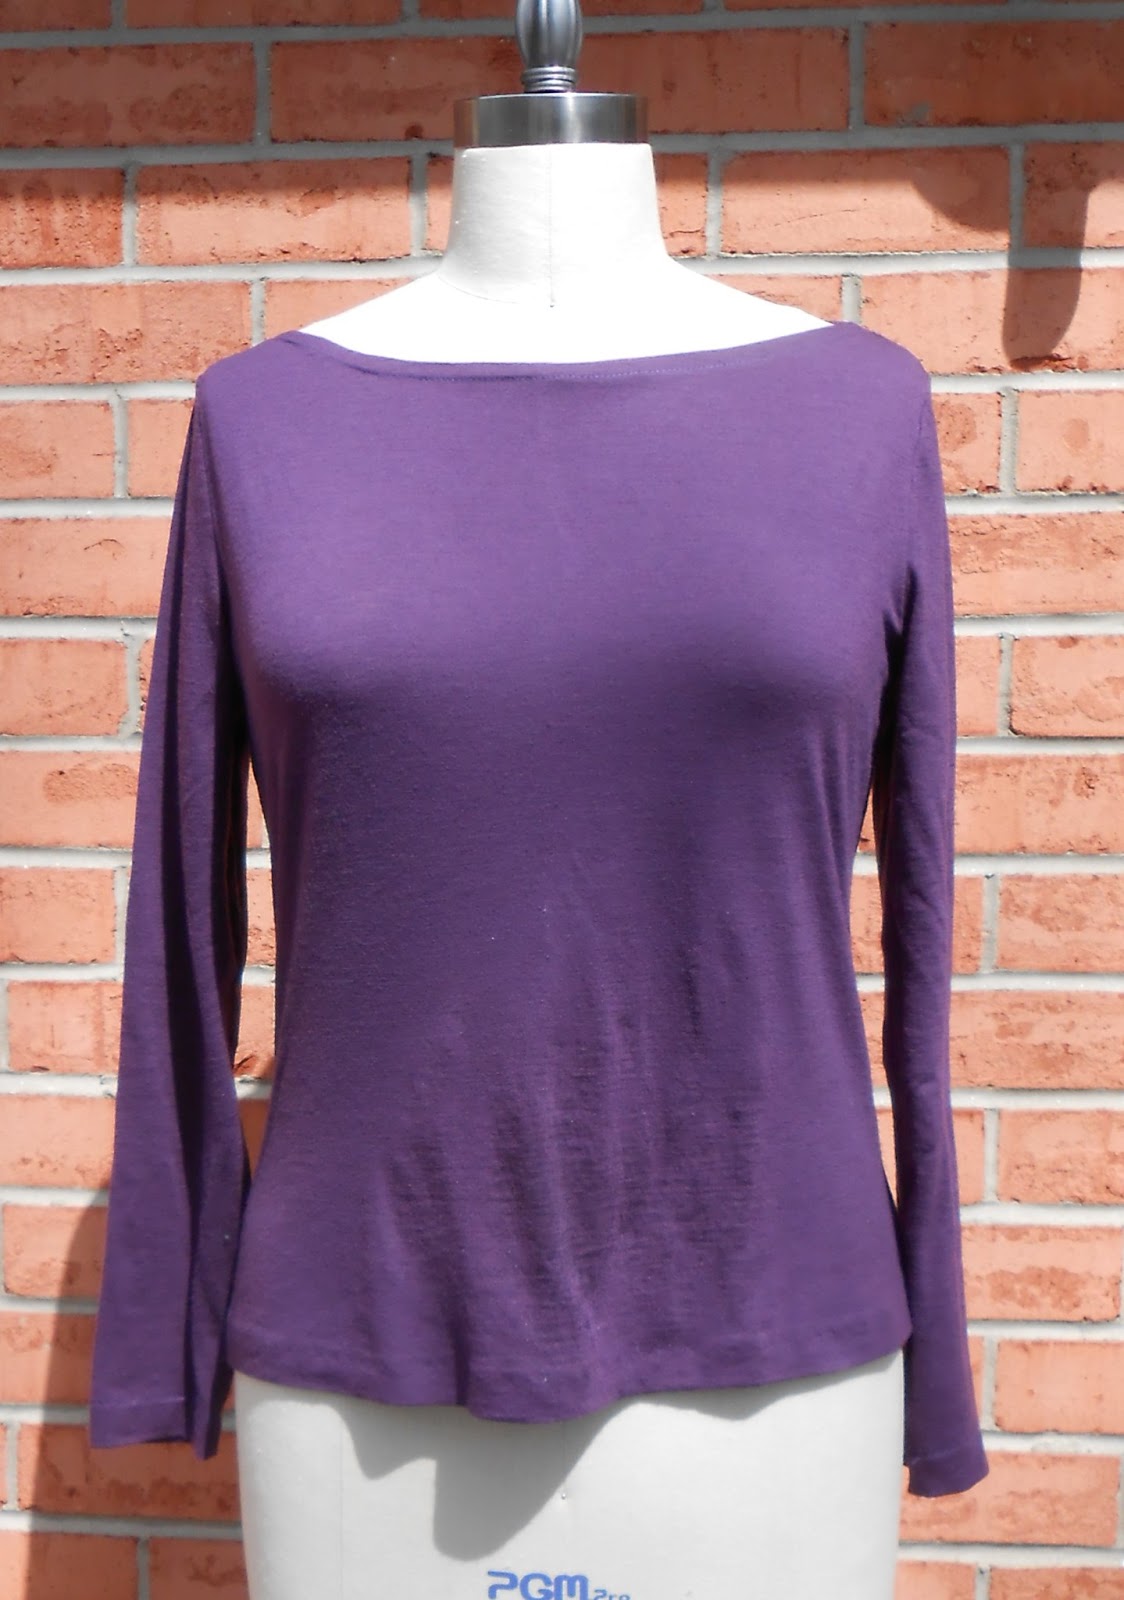
The only wearable garment sewn during this time was a rather simple knit top. I had a RTW cardigan that I had never worn because I did not have a top in the right style and color to wear under it. I wanted a boat neck knit top in a dusty purple color.  I had the fabric, but no TNT  pattern I could use to make the top. I am always envious of sewing bloggers who make the latest knit top pattern with stunning results and no fit problems.  I don’t have that kind of luck.  I have fitting problems with knit garments too. I have a bodice sloper for woven fabrics that I can compare to printed patterns. And thought it would be great to have a bodice sloper for knits.  But how to get one? There isn’t a lot of  info in books or on the Internet, but here is what I found. There appears to be four ways to go about it.

1. Manually draft a bodice sloper for knit fabrics using personal measurements and instructions.

Books

Winifred Aldrich - Metric Pattern Cutting for Women's Wear has instructions for drafting two close fitting blocks, one for very stretchy fabrics (-11 cm wearing ease in circumference)  and one for moderate stretch fabric (-4 cm)

Pattern Drafting for Fashion : The Basics by  Teresa Gilewska  has instruction for a basic knitwear bodice with no ease.

Internet

Pattern School  a site’s who's main emphasis is stretch-fit pattern making, has instructions for manually drafting a one piece  (what I would call a leotard)  block that can be used as the basis for  a top. On the "Lazy People" tab of this website, there is a screen where you can enter your  own measurements and  the stretch % of your fabric  and it will generate the block for you in  .svg file format. Unfortunately you will have to import the  svg file into a graphics software to manipulate and save it  in a format which can be tiled and printed on 8.5 x 11 paper. I use the freeware PosteRazor to print poster size patterns on 8.5 x 11" paper.  

2. Make changes to an existing  woven fabric bodice sloper

Sources for instruction on adjusting an existing block for stretch fabrics are

  •  this post at  The Sewing Space  In her "free stuff" she  has a stretch gauge to use to determine the % stretch of your fabric. The amount of stretch in your knit fabric will determine the amount of ease desired in a pattern for a knit.

  • Reportedly, a  small section in Patternmaking for Fashion Design by Helen Joseph-Armstrong, which I don’t have in my sewing library so I can't confirm.

  • And  advice posted on sewing discussion boards:

Advice 1 - “Use close fitting sloper for wovens and increase all seam allowances by 1/8th inch.”
Advice 2 - “Reduce the ease in the circumference of the bodice by folding out a ¼ inch  vertical tuck midway on the shoulder all the way down to the hem on the back and front pattern piece.  This  also reduces  the width of the shoulders, but leaves the neck alone.  Drop the shoulder just slightly and raise the armscye to make the armhole fit closer to the body. The sleeve width should  also be reduced, which can also be done with the same vertical tuck process.

The issue with the advice above is that is does not take into consideration the wearing ease of the block you are using as the basis for the changes, nor the stretch of your knit fabric.

3. Drape a knit fabric, similar in stretchiness to the one to be used for the garment, on a dress form or have a friend do it on you.

Books

The Essential Guide to Stretch Pattern Cutting  Shoben Fashion Media available at Center For Pattern Design

 Patternmaking-Made-Easy-  by Connie Amaden Crawford  Who says "A true knit bodice can only be made by draping and smoothing the dart excess out at the shoulder, armhole and side seams."

Both of these sources are a bit pricey.

4. Make a knit top pattern over and over again , adjusting each time for a better fit.  This seems to be very popular with younger sewing bloggers, using a popular top pattern from an independent label as their starting point.

Based on my experience, even slopers drafted from my personal measurement require quite a few fitting changes because of my back shape.  So just for kicks I decided to drape a knit fabric on my paper tape dress form, which is a good replica of my body (reality sucks!)  Initially  I used the very brief instructions from  Crawford's book.  One of my big questions about draping a knit was whether the fabric  should be stretched smooth in all directions, which was nearly impossible, or if  some wrinkles were permitted. The Shoben pamphlet suggests using a shoulder bust dart initially, so the bust won't be flattened and then transfer it into ease at the side seam as one of final steps.  That helped with the wrinkle issue and prevented the dreaded flattened bust (who knew?) .  Below are some pictures of my draping exercise. That ring on a string is my improvised plumb bob for determining the vertical seam on the back.

Draping a knit on dress form - Back

Draping a knit on dress form -
Front
  I  compared the resulting knit bodice sloper  to my woven bodice sloper,   Amazingly the results were very much like what was recommended on the discussion boards.The shoulders were more sloped, the armhole higher.  Less ease in bust and hip area.  And the curves in the sides and back were rather funny looking as predicted by The Sewing Space article. The front was much wider than the back, to accommodate the bust ( and my tummy).  One important learning from all this research was that block or patterns for knit garments may be longer in length than blocks or patterns for woven tops. That is because some of the length is taken up when the knit stretches around the body, so don't shorten the length before trying on the garment. I have made  knit tops in the past and cut off what I thought was excess length in the flat pattern pieces, only to find the finished garment a bit short. Duh!

  Here is what the red knit sloper looked like when compare to woven sloper ( green tag board)


I use the knit sloper  and compared it to this  Burda  pattern 1/20122 123,


narrowed the upper chest and neckline of the pattern , and sewed it up. It fit well and looks great with the cardigan.


Less that 24 hours after taking the pictures above, the back yard looked like this.
 
  I am tired of this highly changeable weather. Have you seen the Internet cartoons about  Rudolph the Reindeer helping the Easter Bunny deliver Easter holiday treats to the kids this year?  DH and I are heading to Florida in a couple of days as the Spring Break  "chaperons" for a group of 18 year old boys.  They aren't thrilled about the chaperon bit,  but that was a condition of us paying for the condo and other essentials for the trip. They will have plenty of time to "go wild" when their expenses are no longer being charged to my cost center.  And I like having an excuse to go somewhere with warmer weather.