 |
| Jefferson Hotel Holiday Tree |
"A dress straight out of Hollywood. Diagonal section seams sculpt it to the figure and godets flare the hem. Panne velvet in iridescent gold furnishes high fashion. Add extravagant earrings, a small luxury bag and delicate high heel sandals and you’ll look ravishing for your rendezvous."

I have wanted to make this dress since the magazine was published in 2006. At that time I was intimidated by the combination of bias cut edges and seaming, drapey expensive fabric, and potential fitting issue. Finally 12 years later, I felt up to attempting this dress. There were some backup party dresses in my wardrobe, just in case.
The fabric recommended for the dress is panne velvet. Panne is a description of the finish or nap of the velvet. I have seen both panne finished woven and knit fabrics. I am fairly sure this dress was designed for woven fabrics though it is not specified. The fabric in the picture looked like the .2 silk, .8 rayon panne velvet fabric available at high end fabric shops. This fabric is expensive, around $30 per yard and often quite narrow. In 2014, I purchased some 100% rayon panne velvet from FabricMartFabrics for $14.00 yard. The drape and feel was similar to the higher priced fabric. And since it was rayon, I machine washed and dried it before cutting out the dress, so there would be no surprise shrinkage when pressing during construction.
The dress was cut out in a single layer both because of the asymmetry of all the pattern pieces and because of the shifty nature of the fabric. The fabric wouldn't stay in place on the cutting table, so I laid the fabric fuzzy face side down on the living room carpet which is a wool oriental rug.
 |
| Floor layout |
I cut the dress in a size 42 above the waist tapering to a size 44 below the waist. The dress was still a bit unfitted in the waist and wasn’t attractive ( think 1920's flapper dress). So I took in more on the bodice side seams.
While pressing seams during construction I used a 5” by 13 “needle board design for pressing velvet, velveteen and other pile or napped fabrics to prevent flattening the pile . It worked really well. I Googled "needle boards" and was shocked to find the same size needle board, brand new, was selling for $145. In this age of manufacturing innovation and automation, I wonder why these things went up in price?
 |
| Needle Board |
Velvet is notoriously challenging to sew. It has a nap requiring careful pattern placement, special tools are needed for pressing, it creeps when trying to sew a seam. There are many sources with tips and tricks for working with velvets. I checked a couple of them to refresh my memory. But my "go to" is hand basting all seams before machine sewing. I much prefer hand basting to ripping and resewing.
The dress in lined in bemberg rayon. I created a lining pattern for the dress by taping the pattern sections together to create a non pieced lining pattern and omitted the godets.
 |
| Burda 11 2006 110 Panne Velvet Dress |
 |
| Accessories |
 |
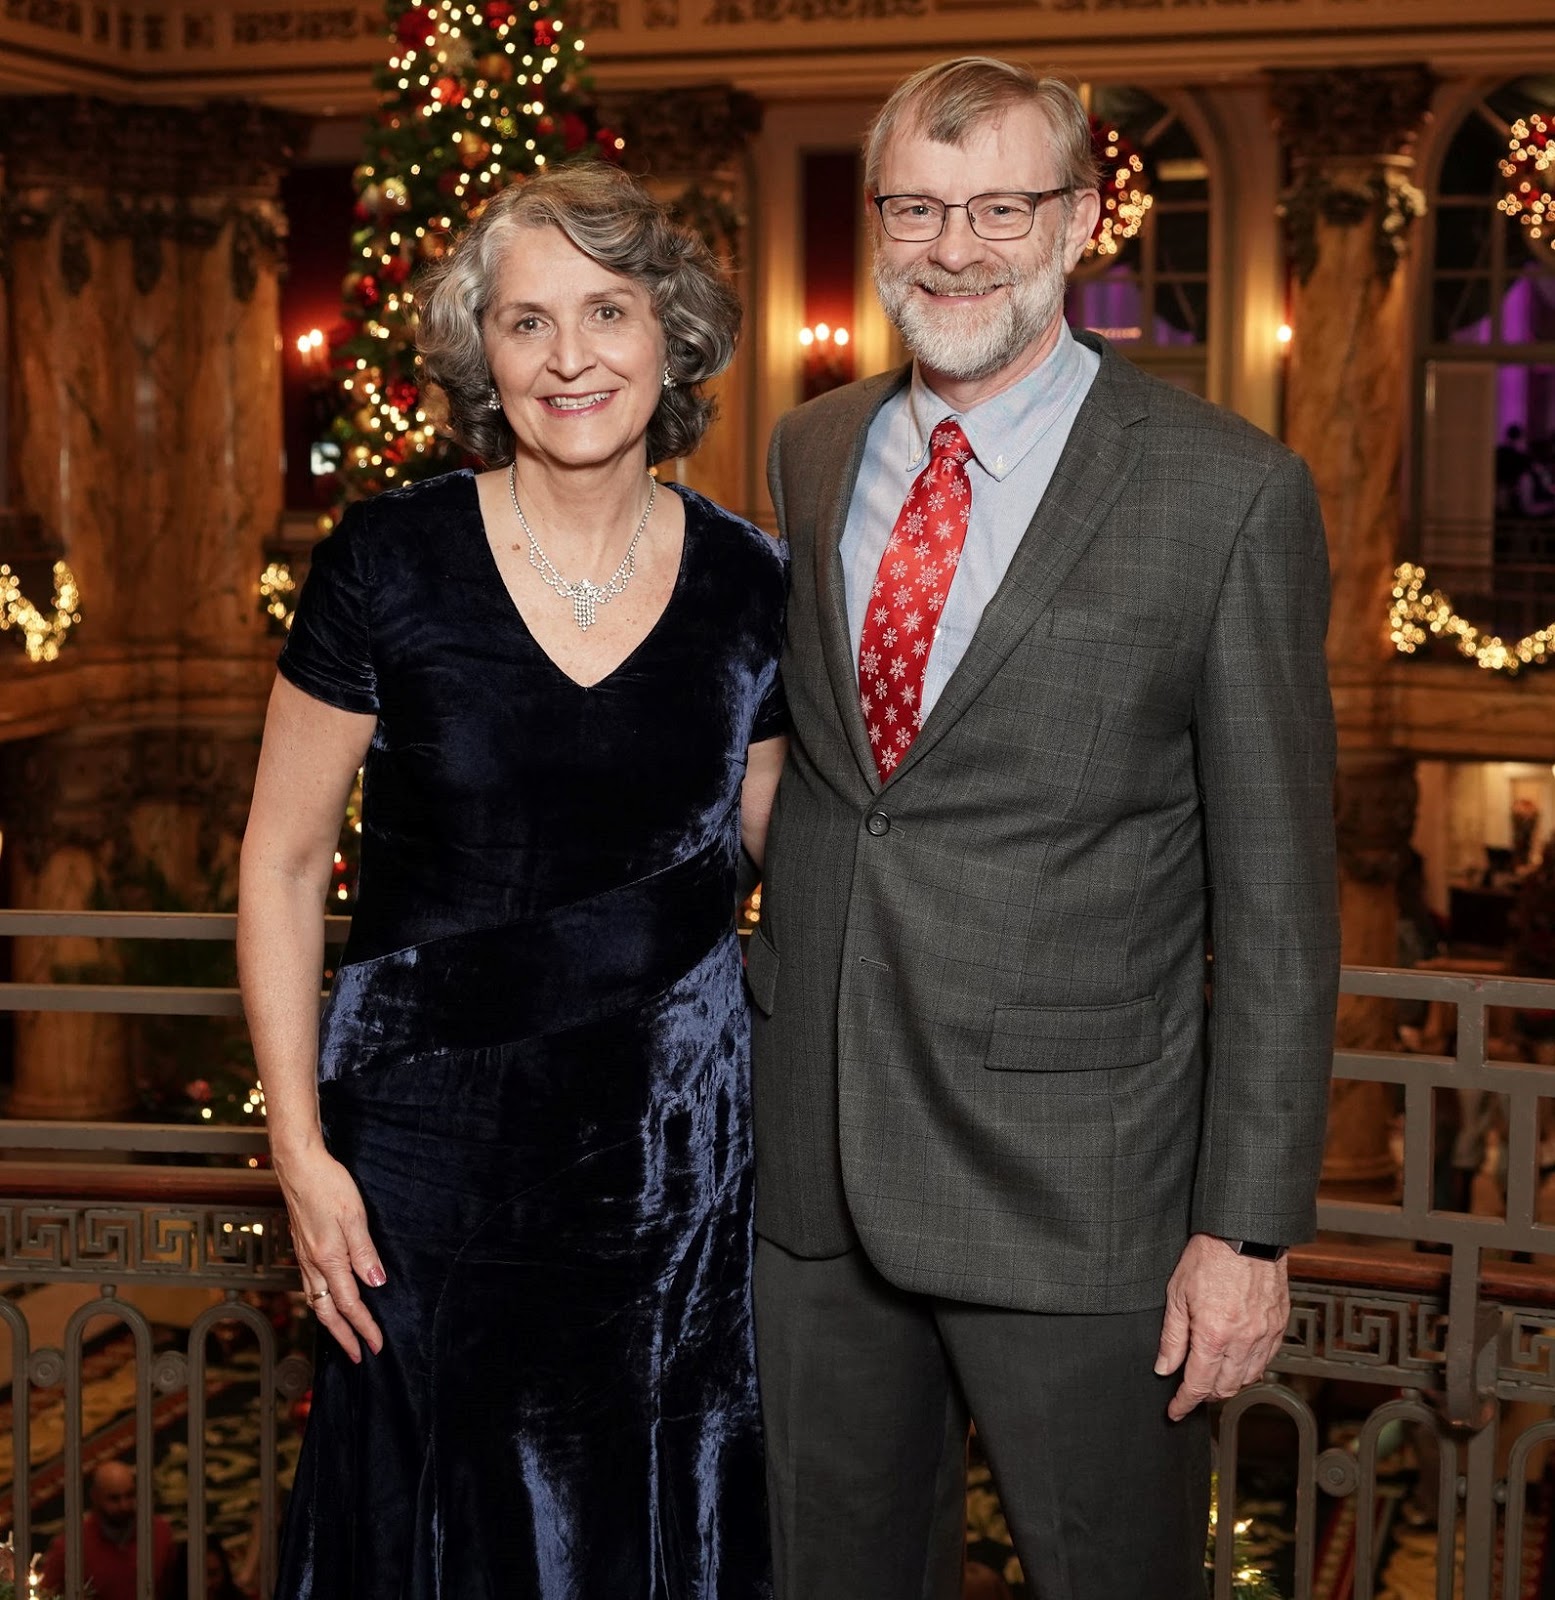 |
| 2018 Xmas Party |


